Voir sur cbm-dentaire.comLes prix et la disponibilité sont mis à jour quotidiennement. Veuillez vérifier sur le site du vendeur avant d'acheter.
ULTRADENT
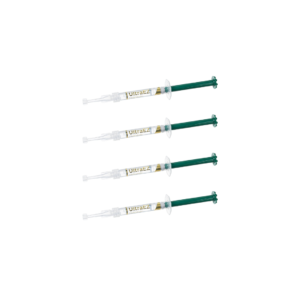
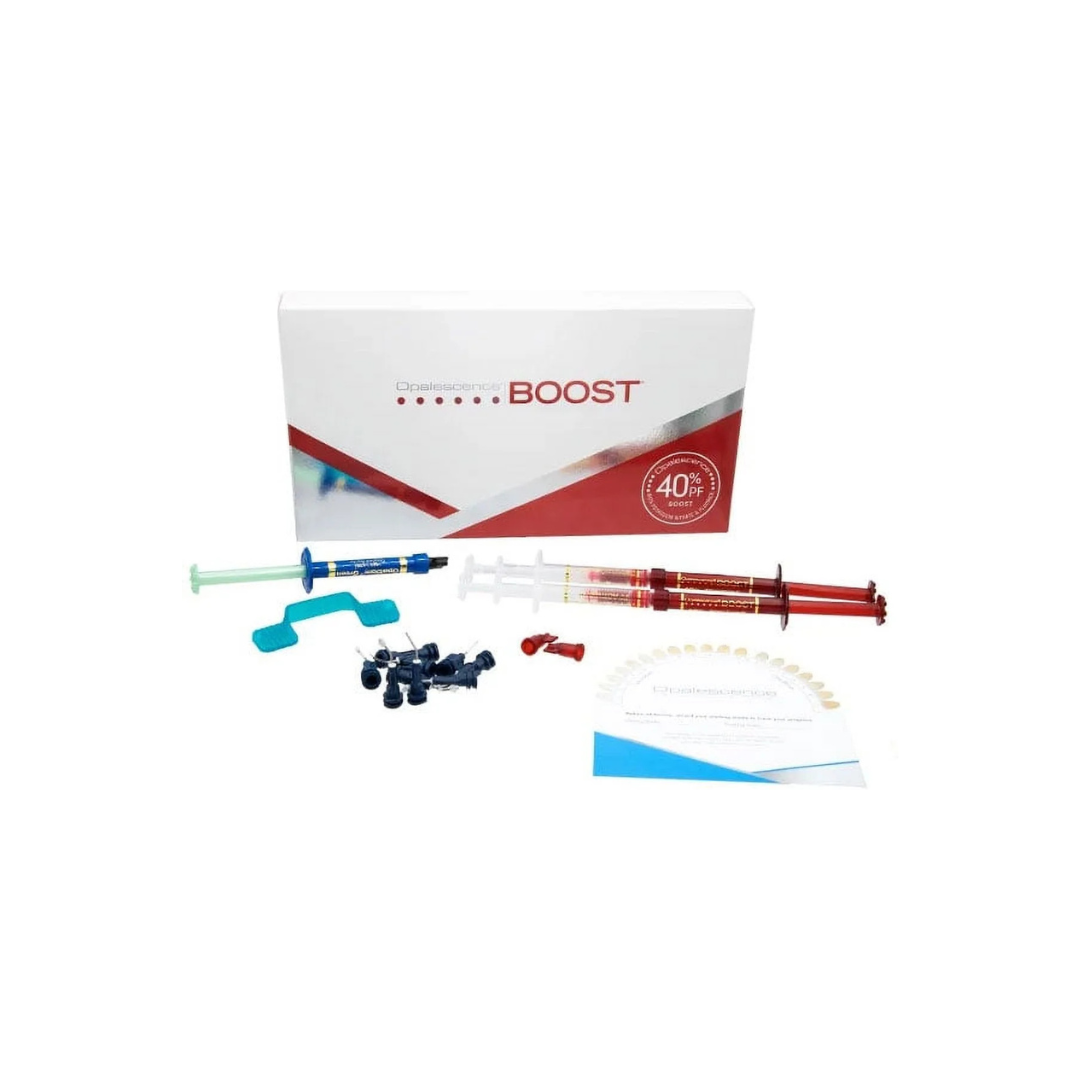
Opalescence™ Boost PF 40 % 2 seringues – Ultradent
DZD 16 000
Voir sur cbm-dentaire.comLes prix et la disponibilité sont mis à jour quotidiennement. Veuillez vérifier sur le site du vendeur avant d'acheter.
Description
OPALESCENCE BOOST PF 40% est un produit de blanchiment à utiliser au cabinet, activée chimiquement qui ne nécessite aucune lumière.
Ses caractéristiques :
- Contient 40 % de peroxyde d’hydrogène pour des résultats plus rapides, plus faciles et plus puissants.
- Comprend la formule PF pour renforcer l’émail, diminuer la sensibilité et prévenir les caries.
- Application facile et précise.
- Deux ou trois applications de 20 minutes sont nécessaires pour un total de 40 à 60 minutes de traitement.
- Maximum de 3 demandes par visite.
- La réfrigération n’est pas nécessaire.
- Le mélange de seringue à seringue assure une force maximale.
- Idéale pour blanchir et éclaircir les dents décolorées par l’âge, la génétique ou les médicaments.
Conseil d’utilisation: afin d’activer le produit, il suffit de mélanger les seringues 50 fois (25 de chaque côté) et d’appliquer directement le produit après avoir isolé la gencive. Après l’application du produit, il se conserve au frais 10 jours maximum.
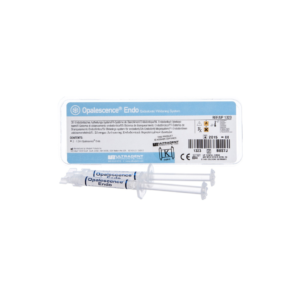
Le coffret Opalescence Boost 40% contient :
- 2 seringues de 1,2 ml – soit 1,49 g – d’Opalescence Boost.
- 1 seringue de 1,2 ml OpalDam Green (digue d’isolation).
- 1 IsoBlock.
- 10 mini-pointes noires.
- 1 Colorimètre.
Procedures
Opalescence Whitening Procedure
See Instructions for Use for complete instructions, warnings, and precautions.
Step 1
Ensure syringes are securely attached. Depress the small clear plunger (A) into the middle small clear syringe (B) to rupture internal membrane and combine whitener and activator. Press the plunger of the red syringe, pushing all contents into the clear syringe.
Step 2
Press the contents of the clear plunger completely back into the red syringe. To thoroughly mix activator with whitening gel, push stems back and forth continually and mix 25 times each side.
Step 3
Press all mixed gel into the red syringe. Twist to separate the two syringes and securely attach the Black Mini™ tip onto the red syringe.
Step 4
Verify flow, consistency, and red color before applying intraorally. If resistance is met, replace tip and re-check. If gel is not red, do not use and refer to Step 2 in the Use – Mixing Opalescence Pro In-Office Whitening section of IFU.
Step 5
Remove Luer lock cap from OpalDam™ resin barrier and securely attach recommended delivery tip. Verify flow prior to applying intraorally. Rinse and dry teeth and gums thoroughly. Place Ultradent IsoBlock™ bite block and Umbrella™ retractor.
Step 6
Apply OpalDam resin barrier along gingival margin, overlapping approximately 2–3 mm onto enamel. Begin and finish one tooth beyond the most distal tooth being whitened. Express through any open embrasures to completely cover exposed papilla.
Step 7
Use mouth mirror to ensure there is no exposed gingiva. If so, apply resin. Light cure using a scanning motion. Carefully check cure.
Step 8
Apply a 0.5–1.0 mm layer of gel. Allow gel to remain on the teeth 20 minutes per application, and periodically check on patient comfort and suction saliva.
Step 9
Suction gel from teeth using the Luer Vac and SST™ (Surgical Suction Tip). Do not use water to avoid gel splatter.
Step 10
When no gel is visible, lightly rinse and air dry. Do not to dislodge isolation barrier or rubber dam seal. Monitor patient for sensitivity and irritation. If persistent sensitivity occurs, discontinue use.
Step 11
Evaluate shade change after each application. Repeat steps 8–10 for no more than 3 applications. Do not exceed 3 applications per visit. Re-treat as necessary using professional judgement.
Step 12
Gently slide the tip beneath the resin barrier to remove.
Date d'expiration : 30/09/2027